Why Proper Removal Matters
Removing old tiles isn't just about swinging a hammer. You're working on walls that need to survive another 20 years of moisture and use. Do it wrong and you'll crack plaster, damage the substrate, or create uneven surfaces that make new tiles sit poorly.
The good news? It's straightforward if you've got the right tools and take your time. We're talking about safety gear, the correct chisels, patience, and a realistic timeline. Most bathroom tile removal takes a weekend — not because it's quick, but because rushing causes damage.
Key Point
Tile removal creates dust, sharp fragments, and loud noise. You'll need respiratory protection, eye protection, and gloves rated for sharp materials. This isn't optional safety gear — it's essential.
Essential Tools for the Job
You don't need a massive collection. These core tools handle almost every scenario you'll encounter:
Cold Chisel
A 1-2 inch cold chisel is your primary tool. You'll strike it with a hammer to break the tile-adhesive bond. Look for hardened steel — cheaper chisels dull quickly and require constant resharpening.
Rotary Hammer or Impact Drill
If you're removing tiles from a large wall, an electric rotary hammer cuts the work time from hours to 60-90 minutes. Rent one if you don't own — typically €40-60 per day. It's loud and powerful, so ear protection is non-negotiable.
Grout Saw or Oscillating Tool
Before you can pop tiles, you need to cut the grout lines between them. An oscillating multi-tool with a grout blade does this cleanly. Alternatively, a manual grout saw works but requires more elbow effort.
Pry Bar or Nail Puller
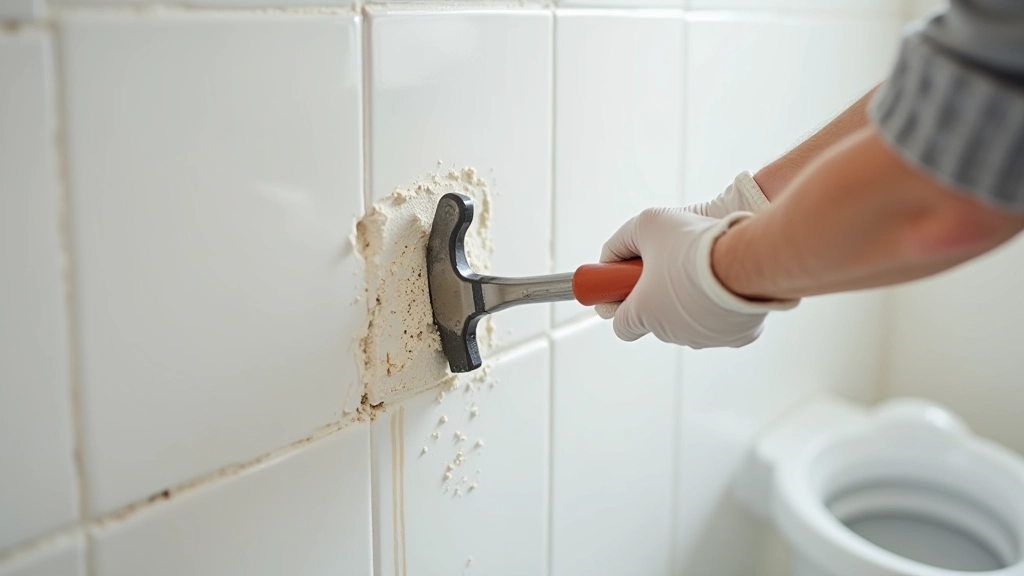
Once tiles crack and loosen, a flat pry bar helps you lever them away from the wall. The curved claw of a nail puller also works well for this final stage.
Safety Equipment
Dust mask (N95 rated minimum), safety glasses with side shields, heavy work gloves (leather or cut-resistant), ear protection if using power tools, and long sleeves. Don't skip this — tile dust is silica and damages lungs.
Dust Containment
Hang plastic sheeting to isolate the bathroom. Use a HEPA-rated shop vacuum to capture dust as you work. Without containment, you'll be cleaning tile dust from your whole house for weeks.
Important Information
This guide provides general information about tile removal techniques. Tile removal can create hazardous dust and sharp materials. Always wear appropriate safety equipment, ensure proper ventilation, and follow local building codes. If you're unsure about your wall condition or substrate, consult a qualified contractor or structural professional before beginning work. Different wall types (plaster, drywall, cement board) may require different approaches. Results depend on your specific situation and proper technique application.
The Removal Process, Step by Step
Preparation Phase
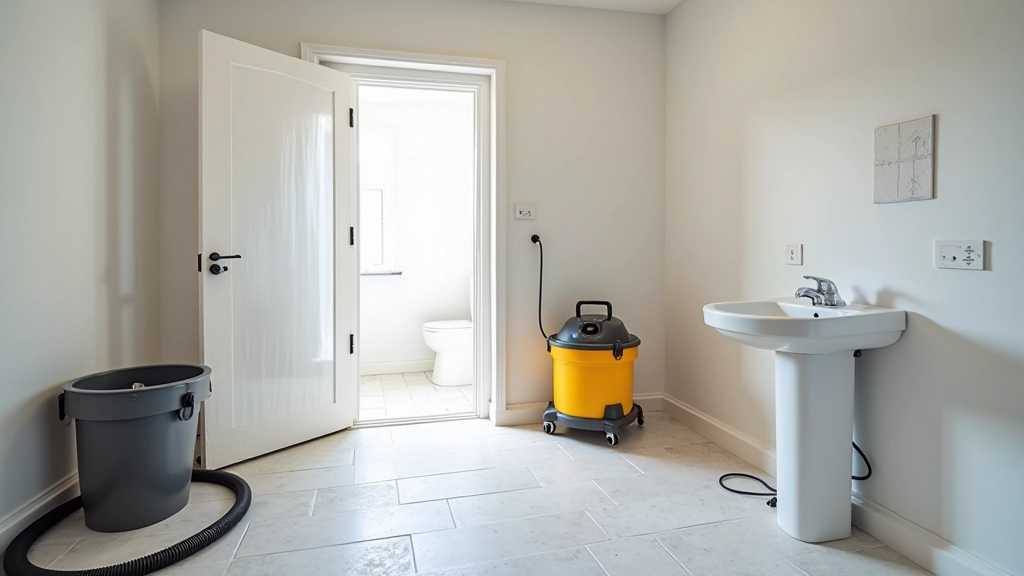
Start by preparing your space. Shut off water to the bathroom if possible. Turn off electricity to outlets near the work area. Hang plastic sheeting from ceiling to floor across the bathroom doorway — you're creating a dust containment zone. Tape the plastic seams with duct tape so nothing escapes.
Set up your shop vacuum outside the plastic barrier. Attach a hose that runs into the work area — this captures dust at the source. Position a bucket or bin for tile fragments. You'll have broken pieces everywhere, and sharp edges won't forgive bare feet.
Open a window in the bathroom if one exists. Even with dust capture, you want air moving out. Put on all your safety gear before you begin. Mask, glasses, gloves, sleeves — everything.
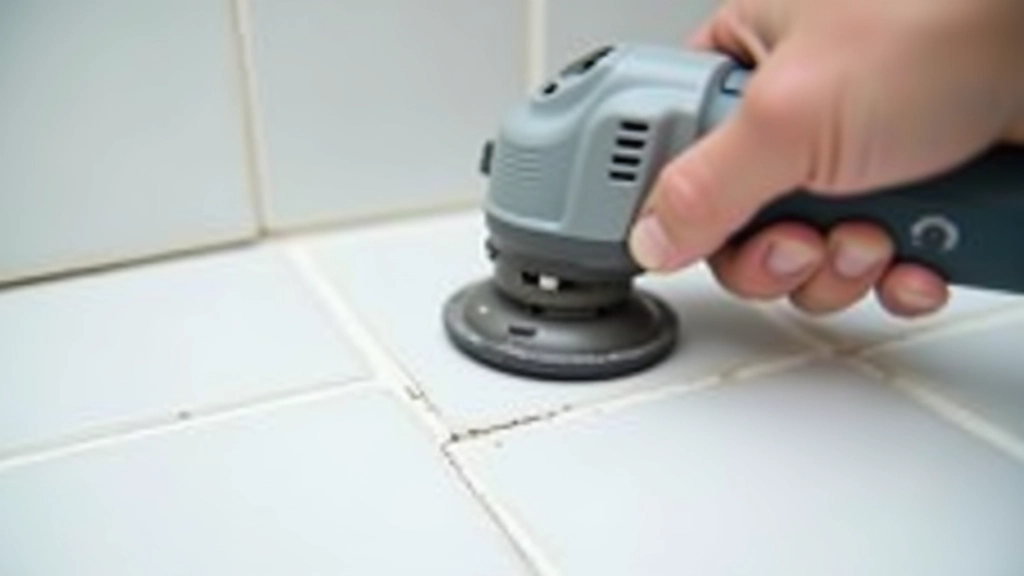
Grout Removal
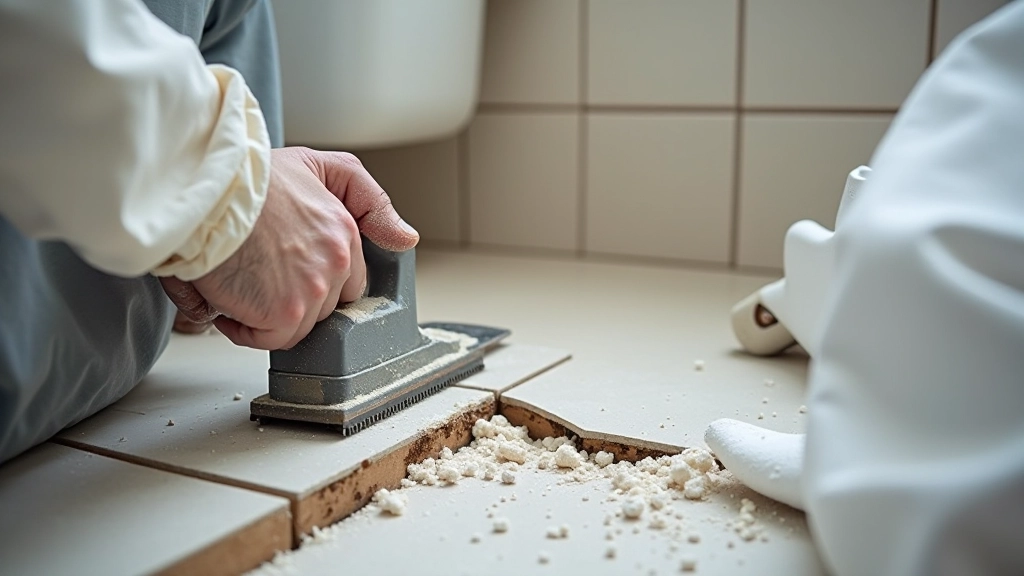
Before tiles budge, you need to break the grout bonds holding them together. Use your oscillating tool with a grout blade, or a manual grout saw if you prefer. Cut along every grout line — both horizontal and vertical. This doesn't have to be perfect; you're just breaking the seal so tiles can separate from each other.
This step takes patience but saves massive frustration later. If you skip it, tiles cling to each other and remove as unwieldy chunks that are harder to control. Cutting grout first means each tile comes away individually, giving you better leverage and safer removal.
Breaking and Removal
Now the actual removal begins. Position your cold chisel behind a tile at a shallow angle — roughly 30 degrees to the wall surface. Strike it firmly with your hammer. The goal is to break the tile-adhesive bond, not smash the tile into dust. A tile that cracks in half is easier to remove than one that explodes into 20 pieces.
Work systematically from one corner, moving across the wall row by row. This keeps you from backing yourself into a corner. As tiles loosen, use your pry bar to lever them away from the wall. Keep the vacuum running throughout — dust accumulates fast.
If you're using a rotary hammer, the process is faster but requires a lighter touch. Let the tool do the work; don't force it. The bit will vibrate the tile-adhesive bond apart. This method generates significant dust and noise, so ear protection becomes critical.
Finishing Up: Substrate Assessment and Cleanup
Once tiles are gone, you're left with the substrate — the surface that held them. This is where you check if your wall is ready for new tiles.
Inspect for Damage
Look for cracks, holes, or soft spots in drywall or plaster. If the substrate is damaged, it needs repair before new tiles go on. Patching compound fills small holes; larger damage may need drywall replacement or professional assessment.
Check for Moisture
Bathrooms are wet environments. If you see staining, mold, or soft substrate, moisture got behind the tiles. Address this before retiling — new tiles won't solve water damage. You may need to replace the substrate or improve ventilation.
Level and Smooth
New tiles sit best on level surfaces. Use a straightedge to check if your wall is flat. Significant bumps or dips need filling with leveling compound or grinding down. Small imperfections (under 3mm) are usually acceptable.
Cleanup takes as long as removal. Collect all tile fragments — they're sharp and hazardous. Sweep thoroughly, then vacuum with your HEPA filter. Wipe down surfaces with a damp cloth to capture fine dust. Only then remove your plastic containment barriers. This prevents tracking dust through the rest of your home.
Realistic Timeline
How long does this actually take? Here's what to expect:
Plastic barriers, equipment positioning, safety gear, and containment setup.
Depends on grout quantity and your tool choice. Manual grout saw takes longer.
With a rotary hammer: 2-3 hours. With hand tools: 4-6 hours. Wall size matters significantly.
Fragment collection, vacuuming, containment removal, and dust wiping.
Total time: One full day for a standard bathroom wall. If you're doing all four walls, expect 2-3 days of work. Take breaks. Tile removal is repetitive and physically demanding.